Why is my faucet leaking from the base of the handle?
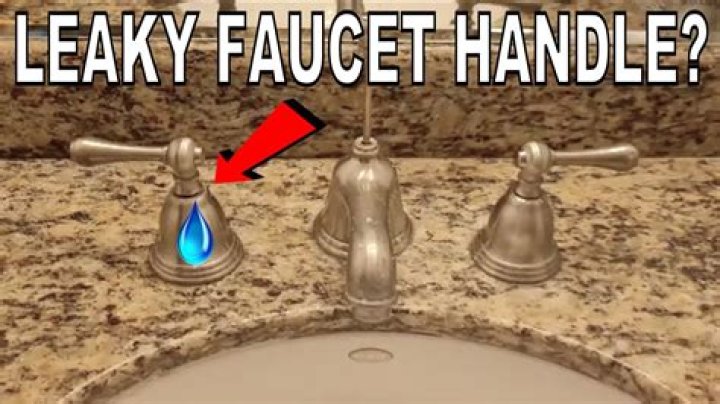
Why is my faucet leaking from the base of the handle?
This leak could be a temporary drip or a continuous leak. Temporary leak: This leak lasts while the faucet is running. Dirt or debris have collected on the seals/o-rings/bearings which prevents the seals from making the faucet water-tight. The seals/o-rings/bearings are located in the faucet body.
How do I fix water coming out of my faucet handle?
Repair a Ball Faucet
- Loosen the set screw and take off the handle. Use a wrench to remove the cap.
- For leaky spouts, remove the cam, washer and ball.
- Use a small screwdriver to remove the seats and springs.
- To repair leaks at the base, remove the spout and replace the O-rings.
- Install new seats on new springs.
Why is my kitchen faucet leaking from the handle?
Continuous leak when faucet is off: When the faucet is off, water leaks from under the handle area. With this issue, dirt and debris have collected in the valve/cartridge which prevents the valve from properly controlling the flow of water. In some faucets, the spacer/check valve assembly has also worn out.
How do you fix a leaky bathroom faucet base?
If the faucet is leaking around the base of the faucet:
- If you have a single handle faucet (any style), remove and clean the aerator.
- If you have a two handle centerset faucet, remove and clean the aerator.
- If you have a two handle mini widespread faucet, you will need to replace the faucets O-rings.
What is an O-ring on a faucet?
Kitchen faucets contain one or more O-rings to prevent water from oozingout around the spout. Worn O-rings can be replaced easily. Kitchen faucets have one or more O-rings to prevent water from oozing out around the spout.
How do I tighten the base on my Moen faucet?
How To Tighten A Loose Moen Kitchen Faucet Base; Getting Handy In Your Kitchen
- Get everything out from under the sink and turn off the valves.
- Lie down facing up so that you can see all the nuts.
- Use an adjustable wrench and set it to the correct size to hold the nut and tighten it.